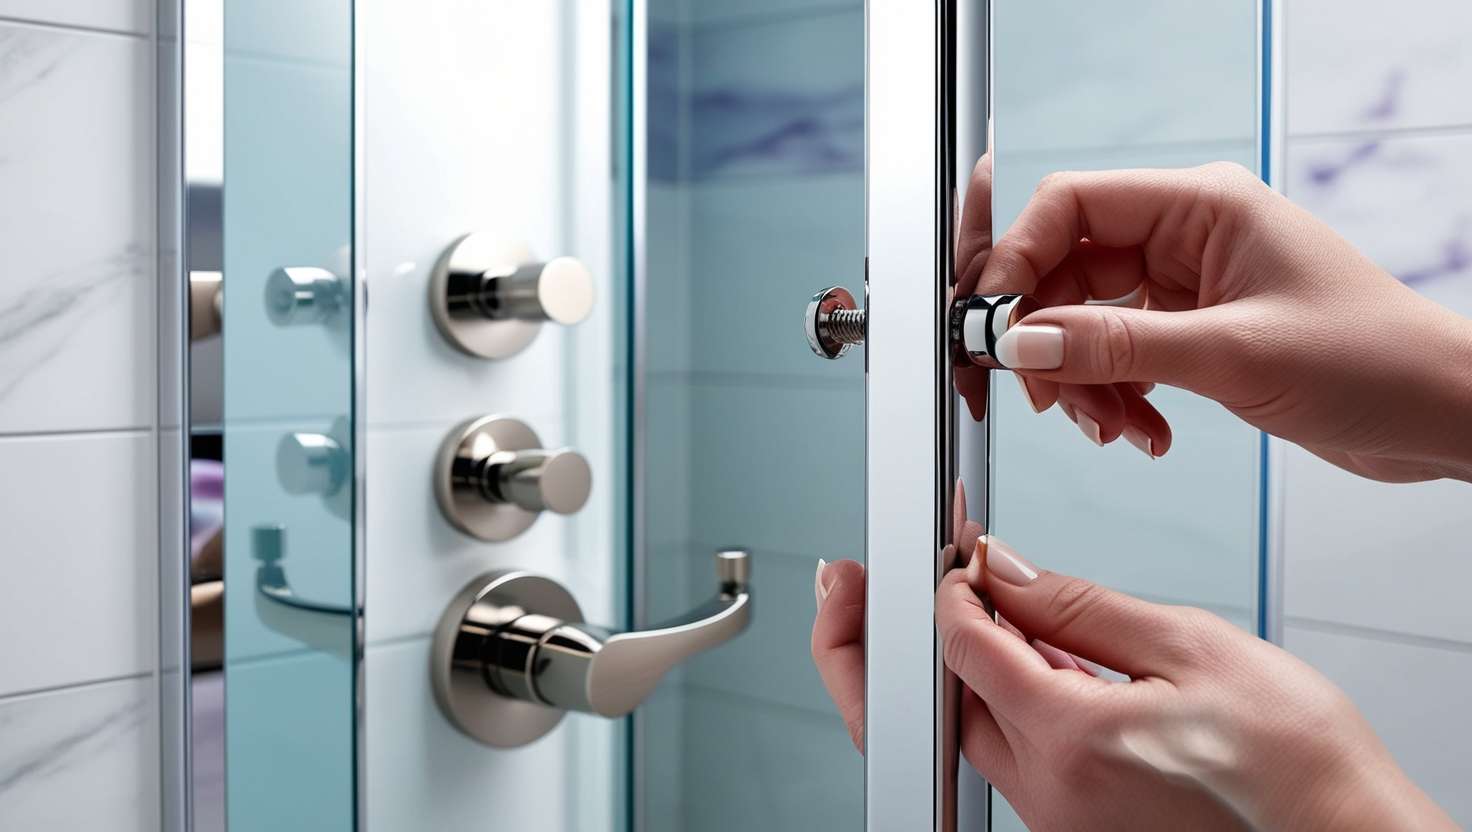
When your shower door handle starts to feel loose, look worn out, or simply doesn’t match your bathroom style anymore, it’s time to replace or repair it. Whether you're dealing with a classic screw-mounted design or a modern slip-on type, understanding how to handle installation, tightening, and removal is essential. In this guide, we’ll walk you through everything you need to know about shower door handle replacement, including tips for slip-on handles and how to deal with glass surfaces without causing damage.
Shower door handles might seem like a small detail in your bathroom, but they serve an important purpose. A broken or loose handle can make your shower inconvenient to use or even unsafe. If you properly maintain, replace, and install things in your bathroom, it will perform better and look nicer as well.
Before diving into the installation or repair process, it’s important to knogjw which type of handle you're working with. Most shower door handles fall into two main categories:
Screwed Handles: These use visible screws and are more traditional. They’re easy to tighten or replace with a few tools.
Slip-On Handles: A modern alternative that clips onto the glass without the need for screws. They're sleek and often easier to install if done correctly.
Understanding the difference will help you select the right replacement part and apply the correct method during installation.
Slip-on handles are growing in popularity due to their clean look and quick installation. Here’s how to install a slip-on shower door handle without screws:
Clean the Surface: Use a non-abrasive cleaner to remove dirt, soap scum, or moisture from the area where the handle will attach.
Align the Handle: Slip-on handles are designed to grip the glass. Line up the handle with the edge of the door.
Apply Pressure Evenly: Push the handle onto the glass until it fits snugly. Some models may include adhesive or rubber inserts to secure the grip.
Check Stability: Tug gently to ensure it’s locked in place. If it feels loose, check the grip material or consider using a handle-specific adhesive.
Installing a slip-on shower door handle is generally tool-free, making it a great option for quick upgrades.
If your current handle is worn out or broken, here’s how to replace your shower door handle:
Remove the Old Handle: If it’s a screwed handle, use a screwdriver (typically Phillips-head) to unscrew both sides. If it's slip-on, pull gently to slide it off.
Clean the Area: Remove any leftover adhesive, grime, or screw debris from the glass surface.
Measure Before Buying: Take note of the handle’s length, hole spacing (if applicable), and glass thickness.
Install the New Handle:
• For screw-mounted handles: Align with the holes, insert the screws, and tighten.
• For slip-on handles: Align and press firmly into place.
Test the Fit: Ensure it opens and closes comfortably without rattling or shifting.
Doing a proper shower door handle replacement ensures longevity and safety.
Over time, handles can become wobbly. If your handle feels loose, you don’t necessarily need to replace it—just tighten it.
For screw-mounted handles: Use the correct screwdriver to tighten each side evenly. Don’t overtighten, as this can crack the glass.
For slip-on handles: If the handle won’t grip tightly, remove it, clean the contact area, and try reapplying. Some models allow you to add rubber or adhesive for better grip.
Learning how to tighten a shower door handle can save you the hassle of a full replacement.
Glass shower doors are delicate, and improper repair work can cause cracks or chips. Here are some tips for glass shower door handle repair:
• Never overtighten screws—this puts pressure on the glass.
• Always use rubber washers or spacers between the handle and glass to distribute pressure evenly.
• If a glass crack is near the handle, stop using the shower immediately and consult a professional.
• Handle repairs on glass should always be gentle and precise.
Need to take off a handle but can’t find any screws? You're likely dealing with a slip-on model. Here’s how to remove a shower door handle without screws:
• Check for a Set Screw: Some slip-on handles have a small hidden screw. Inspect the underside with a flashlight.
• Apply Gentle Pressure: Firmly grip the handle and slide or pull it off. If it resists, rock it slightly to loosen.
• Use a Plastic Pry Tool: Avoid using metal tools on glass—plastic tools prevent scratches and cracks.
• Proper removal without force is key to avoiding damage to your door.
When dealing with sliding shower door handle replacement, measure carefully:
Track Clearance: Ensure the handle doesn’t interfere with the door’s sliding mechanism.
Ergonomic Design: Sliding doors need handles that are easy to grip and slide along the track.
Corrosion Resistance: Choose stainless steel or aluminum to prevent rust from constant moisture.
Replacing sliding door handles may also improve how smoothly your door glides.
It’s important to care for your shower’s handle if you want it functioning well and looking nice. No matter if a case is mounted or simply slipped on, all the details must fit perfectly, since glass can easily break. Sometimes, a simple thing like changing or tightening the handle will have a huge effect on your shower experience.
Pro Tip: It is important to check the manufacturer’s guide or specifications before starting any repair or replacement work. It prevents problems from failing to work with other products.
Want a quick step-by-step tutorial? Check out this DIY guide on replacing your sliding shower door handle in 5 easy steps for more detailed instructions!